INTRODUCTION
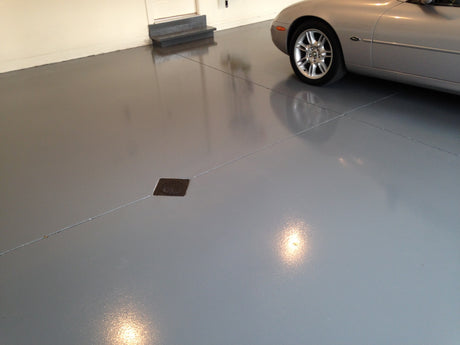
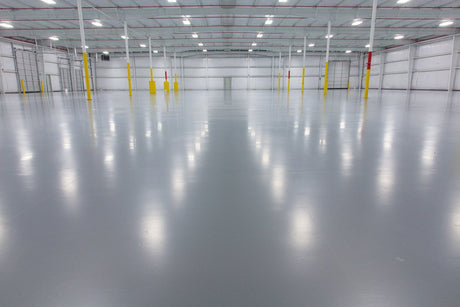
Epoxy Floor Paint is one of the most durable floor paints available, designed to provide a perfect finish with long-lasting durability and easy DIY application. Some people think the process is difficult to handle on their own, but by following this guide, you'll have a glossy, hard-wearing floor in just a few simple steps.
Surface Preparation
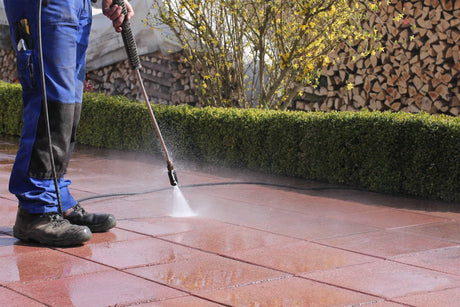
Before you start painting, it’s essential that the surface is thoroughly cleaned and allowed to dry completely. Any holes or cracks should be repaired before painting—the smoother your starting surface, the better the final result will be. Good preparation leads to better outcomes. We recommend that the surface temperature be between 40°F and 77°F. If it's too cold, the coating may not cure properly; if it’s too warm, the paint may dry too quickly for you to work with.
We also suggest that the floor be ground or scarified before applying the paint to ensure proper adhesion. You can rent a floor grinder from your local tool rental shop.
Product Preparation
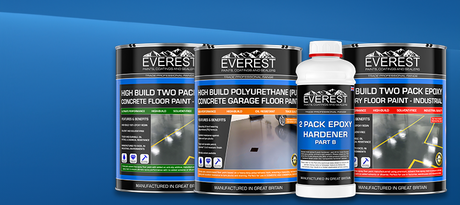
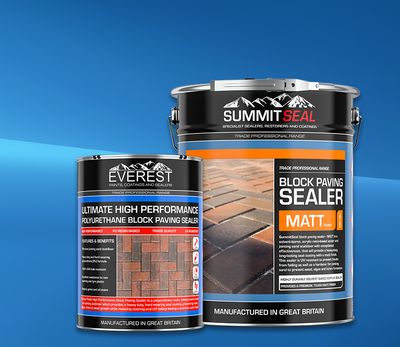
Start by setting up your materials in a designated mixing area, covering the area with disposable plastic sheeting or cardboard to protect it. Everest Trade Epoxy Floor Paint is a two-part product, so make sure you correctly pair your Part A’s and Part B’s.
Once you add the activator to the epoxy, the product will have a working time (pot life) of about 30 minutes. We recommend mixing one unit at a time to ensure you have enough time to apply it. Use an electric drill fitted with a metal paddle mixer for best results. If you don’t have a paddle mixer, we offer them on our website specifically designed for use with epoxy.
Begin by opening Part A and mixing it thoroughly for 1-2 minutes. Then, add Part B and continue mixing for another 1-2 minutes, ensuring the components are fully combined. After mixing, apply the product immediately to the prepared surface.
Applying The Product
First, we suggest using a paintbrush to apply the epoxy around the edges of the area, as this will make the rest of the process easier. For larger areas, we recommend marking off sections using painter’s tape to ensure even coverage. One 11 lb. unit will cover between 180-215 square feet.
Mix each unit following the same procedure, then pour the mixture into a paint tray or scuttle. Apply the epoxy to the floor, spreading a thin, even coat across the entire surface. Depending on how porous the surface is, the first coat may appear a bit uneven or patchy. Don’t worry—this will be fixed when you apply the second coat.
If you used painter’s tape, carefully remove it before the coating dries. Once the surface is fully coated, allow the paint to cure for 12 hours at 68°F. After the first coat is touch-dry, you can apply the second coat using the same method. Be sure to apply the second coat within 24 hours of the first one. Once the second coat is on, let it cure for another 12-16 hours. At that point, you can walk on the floor and start moving items back into the painted area. However, we recommend waiting 48 hours before parking vehicles on the surface. Water or other liquids should not be introduced to the newly coated floor for 7 days, at which point the full chemical cure will be complete.
Your floor will now have a smooth, glossy finish that’s built to last for years. We’d love to see photos or videos of your finished project—please send them to contact@everestpaints.com. If we use your images on our website, we’ll send you a 10% discount code for your next order.
All Done
We hope you're thrilled with your floor’s new look. It really is that simple to give your floor a fresh update that will last for years. If you have any questions or need assistance, feel free to reach out at contact@everestpaints.com.


