INTRODUCTION
Sealing pavers is a straightforward job—and with the right materials, it’ll keep your driveway or patio looking fantastic for years to come. With a little regular maintenance, sealing protects your paved areas from the elements and prevents weed growth, ensuring your pavers look as good as new.
We’ve outlined the cleaning and application process below. This applies to both new and existing pavers. For new pavers, please make sure they’ve been down for at least 28 days before applying a sealer to prevent efflorescence.
We’ve also linked the products we recommend for the job in the guide below. Other products can be used, but these have been tried and tested by us and, in our opinion, are the best for the job.
CLEANING YOUR PATIO OR DRIVEWAY - STEP 1
The first step is always to clean your driveway. Good preparation is key to a long-lasting, high-performing sealer coating.
STEP 1a: Mold, Algae, and Lichen Removal (If Applicable)
A pressure washer is usually enough for relatively clean surfaces. However, for surfaces with significant mold, algae, or lichen buildup, we highly recommend using Everest Trade Paints Ultimate Driveway Cleaner. This easy-to-use product effectively eliminates mold, lichen, and algae on pavers.
Simply dilute as instructed, then, using a low-pressure water sprayer or watering can with a sprinkler head, saturate the area and let it dry. This product is a biocide, which kills growths and prevents regrowth.
STEP 1b: Removing Oil Stains (If Applicable)
To tackle tougher oil or grease stains, we suggest Everest Trade Paints Oil Stain Remover. Pour the product directly onto the stain, ensuring it is completely covered with a thin layer. Avoid over-applying. Let it dry completely (about 3-4 hours minimum). Cold or humid conditions may extend drying times. Once dry, sweep the area with a stiff broom to remove the dried product, and rinse the treated area with a hose to remove all powder residue.
STEP 1c: Pressure Washing the Surface
This step is not optional, regardless of whether you’ve used the above products or not.
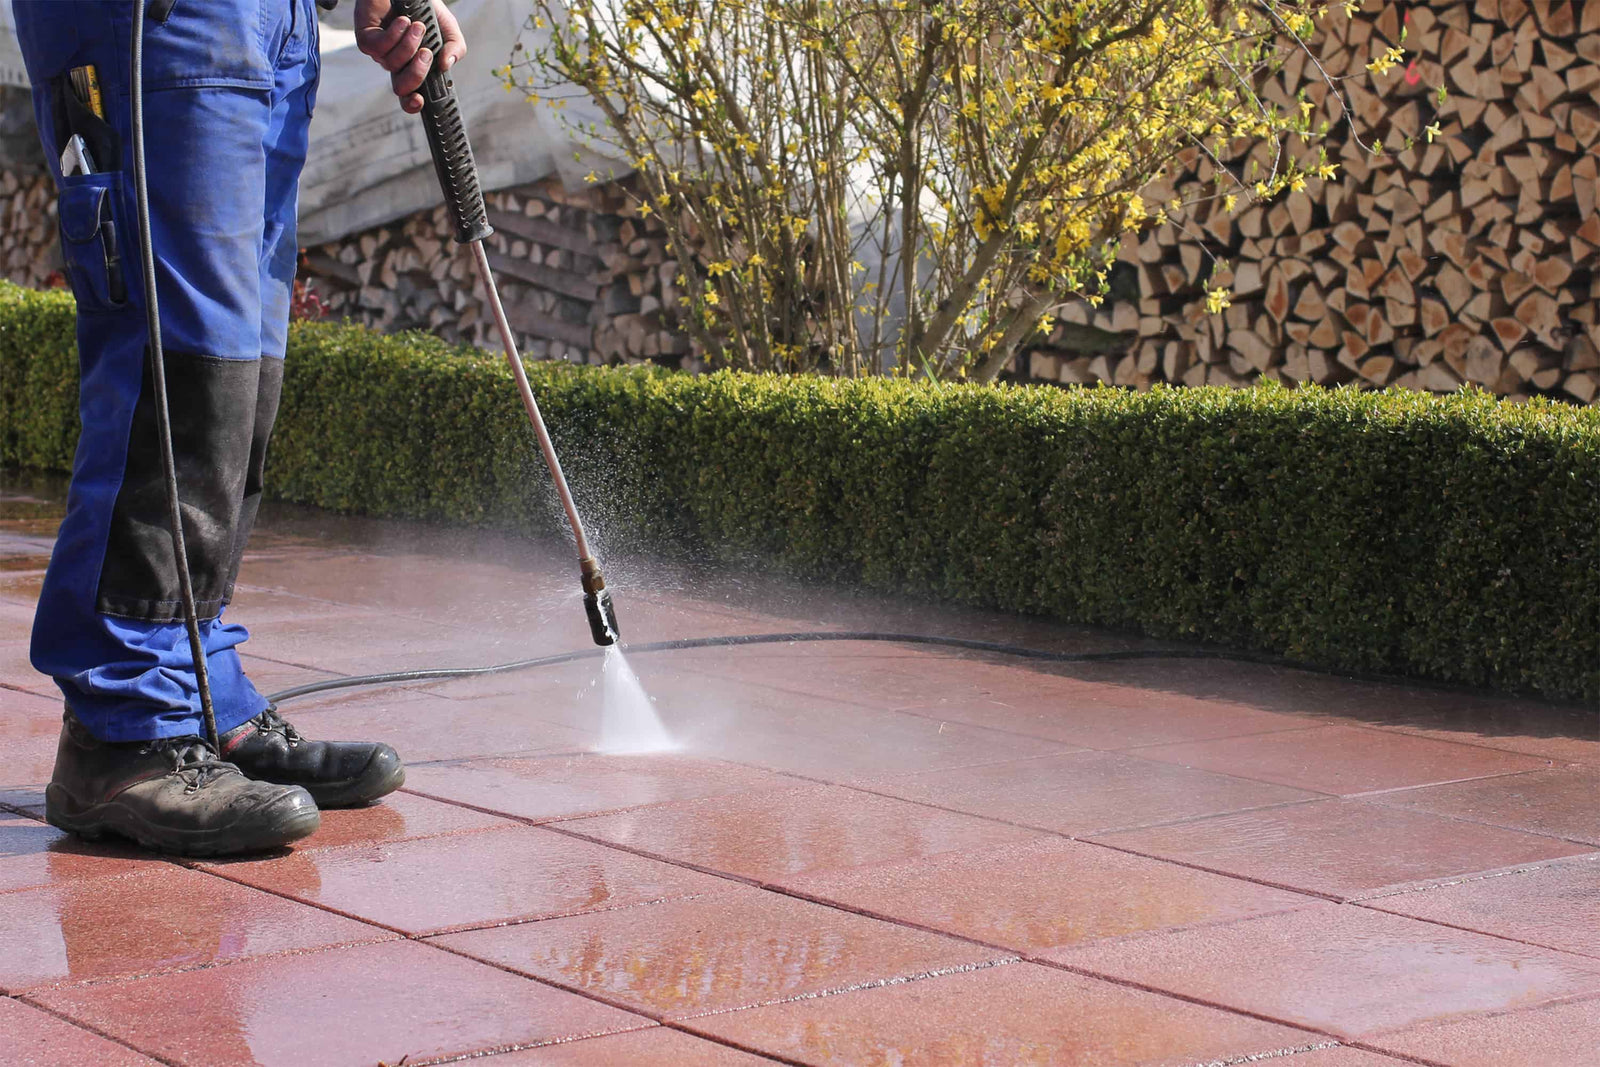
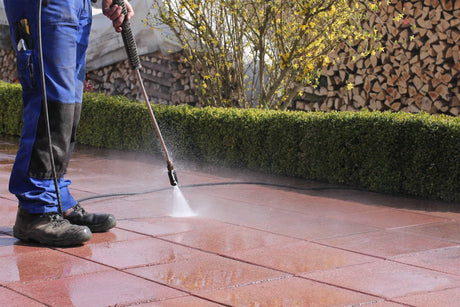
Pressure wash the surface to remove any remaining contaminants. We also recommend lightly pressure washing the joints to remove some of the old sand, allowing room for the new sand you will add later.
Whichever cleaning method you choose, be sure to allow your driveway to dry completely.
SANDING / RE-SANDING JOINTS - STEP 2
Once your driveway is clean and dry, use a broom and jointing sand (or kiln-dried sand) to fill the joints between the pavers. Spread a thin layer of sand across the area, and work the broom back and forth to fill all the joints. Make sure the sand is level. The sand should sit about 3/8 inch below the face of the pavers to avoid issues with the sand coming into contact with the roller when applying the paver sealer. Sweep away the excess jointing sand, so you’re ready to seal the area.
APPLYING THE PAVER SEALER - STEP 3
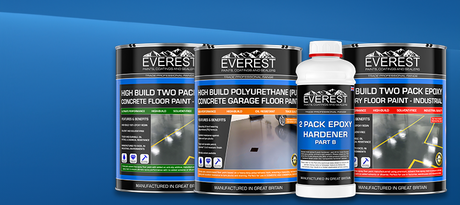
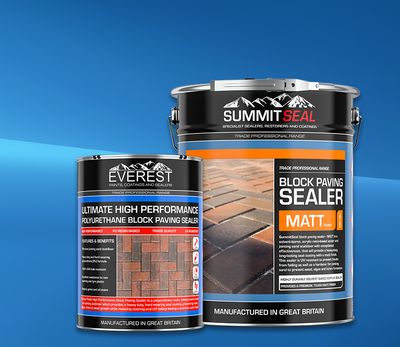
The drying times and coverage information below are based on our recommended paver sealer: Everest Trade - Paver Sealer - High-Performance - Premium Polyurethane Sealer. This is a highly durable, long-lasting sealer that's perfect for residential, commercial, and industrial surfaces.
Before you begin sealing, make sure rain isn’t expected for at least 24 hours to allow the sealer to dry.
Paver sealers can be applied using sprayers, rollers, or brushes. Sprayers provide the best results since they’re less likely to interfere with the sanded joints. Brushes and rollers are fine, but take extra care when sealing over joints to ensure the best results.
RECOMMENDED APPLICATION TOOLS
The sprayer we recommend is the: Marolex Industry 12 - 3.17 Gallon Professional Sprayer
The roller kit we recommend is the: ProDec Professional 12" Roller Application Kit - Double Arm
Roll on the first coat of paver sealer, making sure it’s thoroughly applied between the joints. You’ll know you’ve got enough coverage when the jointing sand turns darker. For the first coat, you’ll typically cover about 200 sq. ft. per gallon of sealer. Applying too much may make the mix too thick; applying too little won’t provide full coverage. Let it dry for 3-4 hours, depending on the weather.
Once the first coat is dry to the touch and no longer tacky, you can begin applying the second coat. Apply the second coat in the same manner, but it will cover more area as the surface is less porous—about 280 sq. ft. per gallon. Allow the area to dry for at least 24 hours for the sealant to fully set. In summer, wait several hours before walking on it and at least a day before driving on it. In winter, keep the area free from traffic for a longer period.
ALL DONE
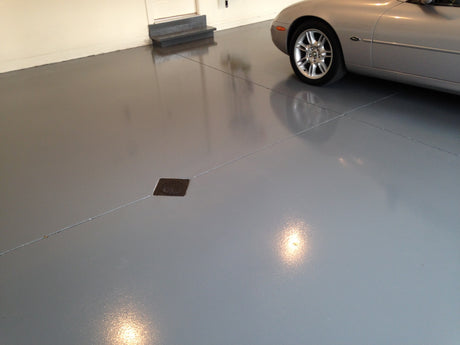
That’s it! You’ve now protected your driveway or patio from weather damage, fading, biological growths, and general wear and tear for years to come.

