Paint is a coating, not a filler.
This is the hardest lesson for DIYers to learn. If you apply a shiny new Epoxy Floor Paint over a crack, the paint will sink into it. Within a week, that crack will show through the coating, leaving you with a beautifully painted, cracked floor.
Even worse, if you use a cheap, water-based filler from a tub, the heavy resin will rip it right out of the crack as it cures.
Repairing concrete cracks and pits is mandatory if you want a seamless finish. But you have to use the right materials, and more importantly, you have to know which cracks shouldn't be filled.
Step 1: Diagnosis
Before you mix any filler, look at the floor.
-
Random Cracks: These are jagged lines caused by shrinkage or settling. FILL THESE.
-
Pits and Spalling: Small craters where the concrete surface has popped off. FILL THESE.
-
Expansion Joints: These are the straight, saw-cut lines running across the slab. DO NOT FILL THESE.
-
Why?: These cuts are there to let the concrete expand and contract with heat. If you fill them with a rigid mortar, the concrete has nowhere to move, and it will crack somewhere else. Leave them open or use a flexible joint sealant after painting.
Step 2: Preparation
You cannot just smear filler over a hairline crack. It won't penetrate deep enough to bond.
-
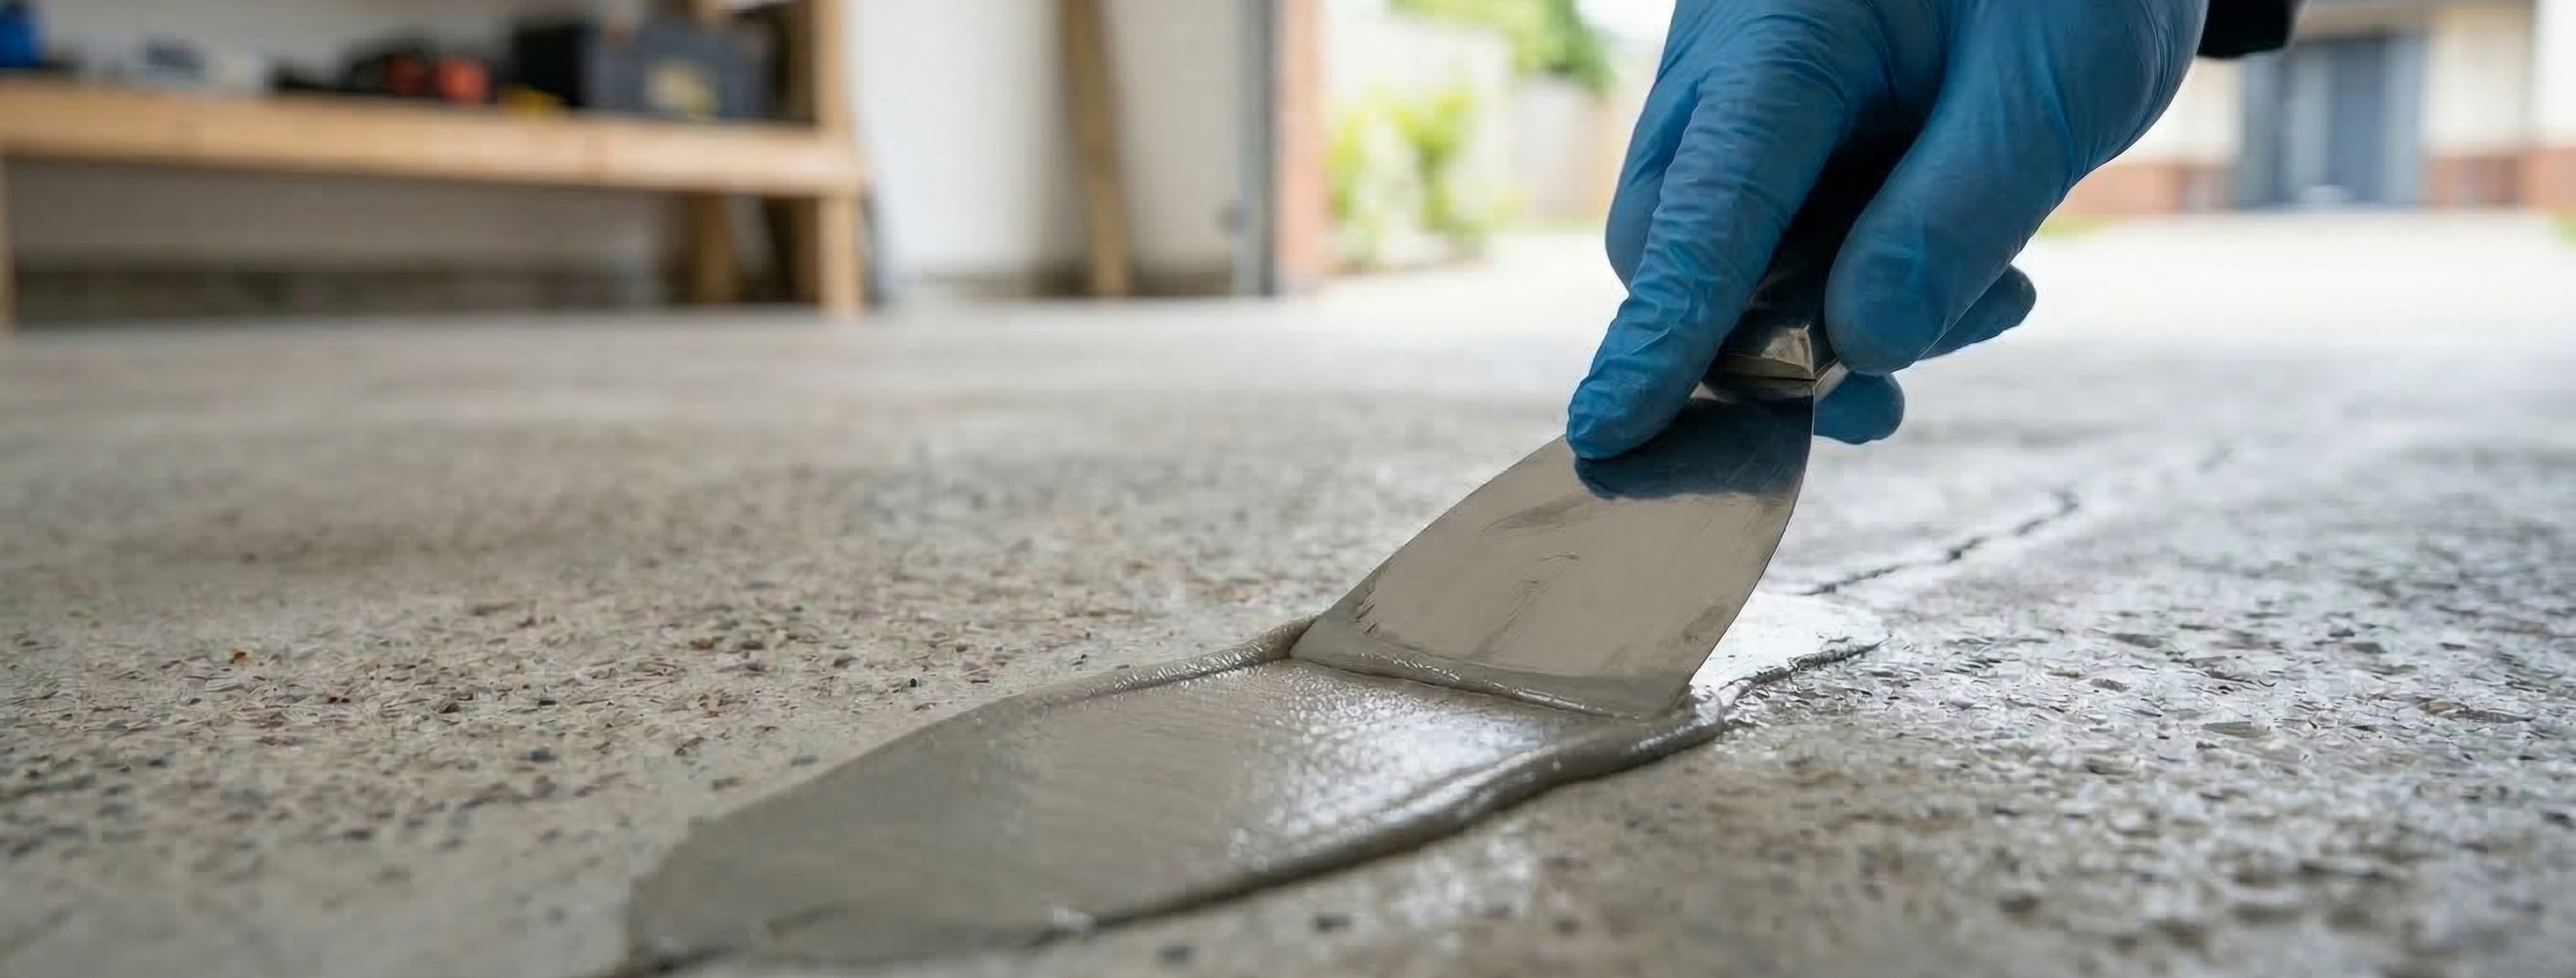
For Cracks: You need to "chase" the crack. Use an angle grinder with a diamond blade or a hammer and chisel to widen the crack into a "V" shape. This gives the Epoxy Repair Mortar a solid surface to grab onto.
-
For Pits/Holes: Wire brush the loose debris out. Vacuum the dust thoroughly. If it's dusty, the patch won't stick.
Step 3: Choose Your Tool
Put the tub of ready-mixed wall filler away. It is too soft for a floor.
-
For Small Pits & Hairline Cracks: Use a fine-grade, two-part polyester filler (similar to car body filler) or a thixotropic epoxy paste.
-
For Large Holes & Deep Cracks: You need structural strength. Use an industrial Epoxy Repair Mortar. This is a 2-part resin mixed with fine sand. It cures harder than the concrete itself and won't shrink.
Step 4: The Application
Resin repair products don't shrink much, but they do settle.
-
Prime (Optional): Some mortars require a tack coat of primer. Check the tin.
-
Fill: Press the mortar firmly into the crack to push out air pockets.
-
Overfill: Leave the patch slightly proud (higher) than the surrounding floor.
-
Smooth: Trowel it off, but don't try to get it perfectly flush yet.
Step 5: The Blend
Once the patch has cured (usually 2-6 hours for epoxy mortars), it will be rock hard. Use an angle grinder with a grinding cup or a heavy-duty sander to grind the patch flush with the floor.
-
The Test: Run your hand over the repair with your eyes closed. If you can feel the bump, you will see it when it's painted. Keep grinding until it disappears.
Conclusion
A concrete patching guide is really just a lesson in patience. It’s tempting to skip the repair work to get to the "fun part" of painting, but the patch is the foundation of the floor.
If you have a floor that resembles the moon's surface, don't try to spot-fix every hole. Consider using a Self-Levelling Compound to resurface the whole area before applying your High Build Floor Paint.
Just remember - if you use a self-levelling compound, you will need to etch this before you can apply paint.
Share:
The Ultimate DIY Garage Floor Prep Guide: Cleaning, Patching, and Profiling
Dealing with "Dusting" Concrete: Hardening Weak Surfaces