

Fabriqué en Grande-Bretagne

Directement de notre usine

Livraison gratuite le lendemain

Pour toute commande supérieure à 750 £

Résultats du test produit

Tous les résultats des tests publiés

Conseils techniques d'experts

Appelez ou discutez avec notre équipe

Cliquez sur une icône pour explorer les fonctionnalités Appuyez sur une icône pour explorer les fonctionnalités
Transparent product cut-out

Two-Stage Primer System

Primer 1 penetrates and prepares the concrete. Primer 2 then gives the final primed surface immediately before the pour. Both primers come in the pack, and they are neither optional nor interchangeable.

Resin Modified Cement Mix

The powder is a fibre-reinforced cement blend, and the liquid resin is added at point of use to make a fluid compound. Nothing else goes in: no water and no thinner. Mix the full unit and pour it straight away, because pot life is up to 20 minutes at 20°C.

Pour, Float And Roll

Pour the mixed compound onto the freshly primed floor. Spread it with a steel float or trowel to at least 3mm. Then work it with a 7” spiked roller to release trapped air and let it settle level; wear spiked shoes to cross the wet floor. One 25kg unit covers approximately 3.7m² at 3mm.

Fibre Reinforced Wearing Surface

Fibres run through the full depth of the cement layer, so the new surface does not rely on the cement alone. Cured, it reaches a compressive strength of 29.8MN/m², a flexural strength of 12.8MN/m² and a tensile bond to the primed slab of 3.2MPa. The floor takes foot traffic after 6 hours; cold conditions slow the cure, so work between 10°C and 30°C.

Profil de performance

Four-Component Resin-Modified Cementitious Resurfacer. A fibre-reinforced cement powder mixed with a liquid resin at point of use, laid over two supplied primers in a single coat. It flows out under float and spiked roller to leave a level new wearing surface on interior concrete.

Télécharger la fiche technique
Coverage 3.7m²per 25kg at 3mm
Film Thickness 3mmspecified depth
Pot Life 20 minutesat 20°C
Coats 1single pour

Informations essentielles

Détails du produit

Description

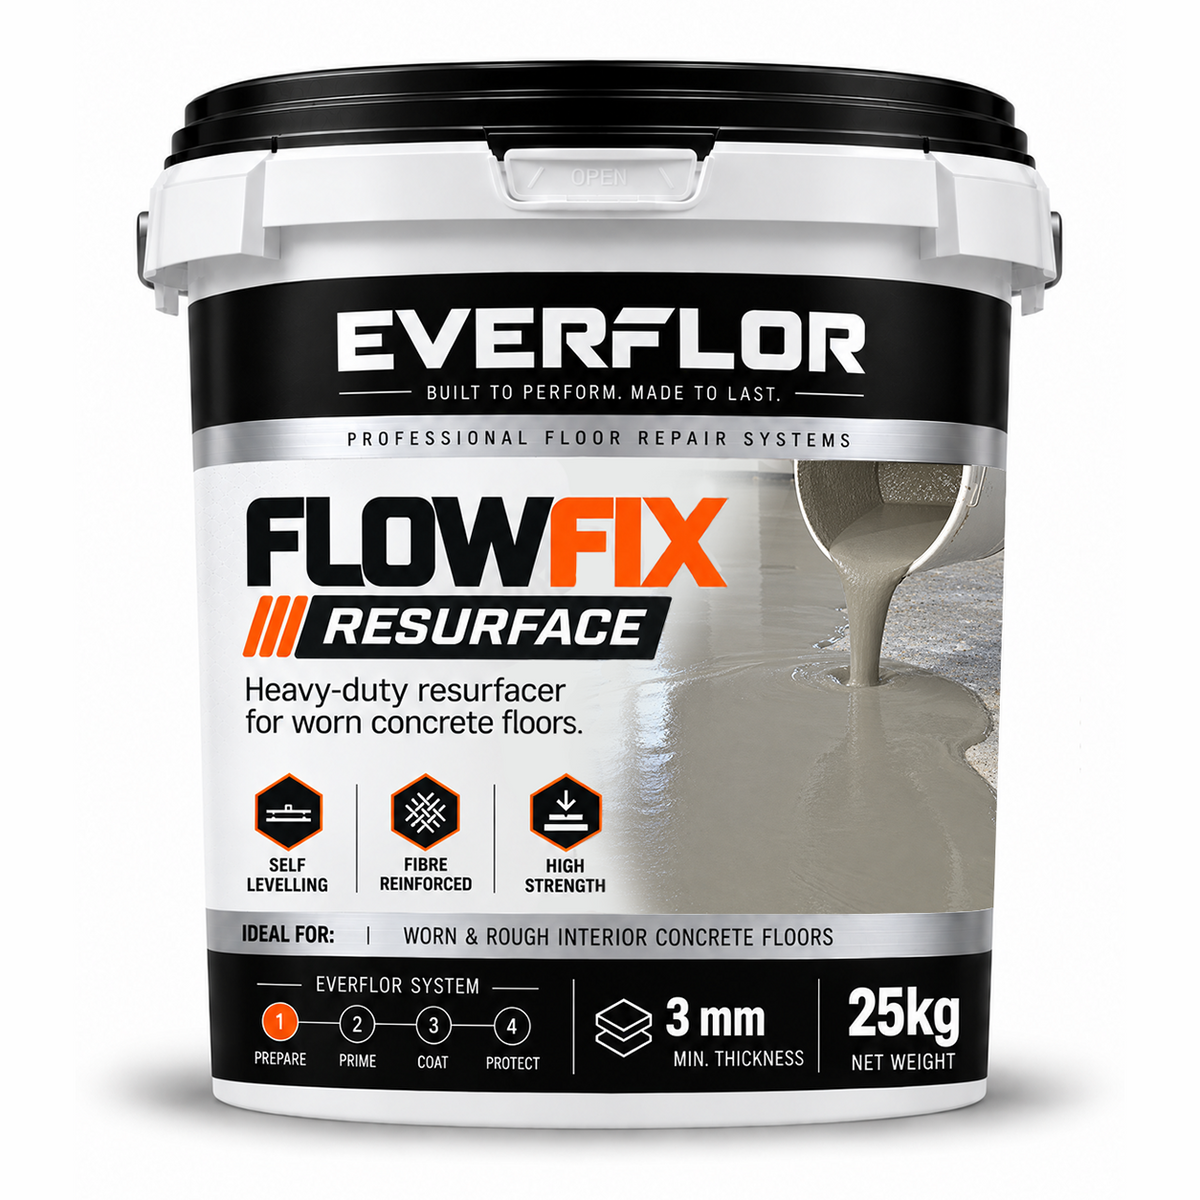
FlowFix Resurface is an industrial floor resurfacer for interior concrete that has worn past the point where paint will help. Traffic wears the surface away, exposes aggregate and leaves the slab pitted and uneven. A coating applied to that surface follows every pit and high spot. FlowFix Resurface lays a new wearing surface over the old slab instead.

It is a complete four-component system. Primer 1 penetrates and prepares the concrete. Primer 2 gives the final primed surface immediately before the pour. The liquid resin and the fibre-reinforced cement powder are mixed at point of use to make a fluid compound. You pour it onto the freshly primed floor, spread it with a steel float or trowel, and work it with a spiked roller. It then settles to a level, self-smoothing finish in a single coat.

FlowFix Resurface is the whole-floor product in the FlowFix range. Fill isolated holes and deeper damage first with FlowFix Patch or FlowFix Deep Patch, then resurface the area. It does not feather-edge individual repairs and does not replace repair of structurally unsound concrete.

Recommended areas of use

  • Warehouses and storage areas
  • Workshops and vehicle workshops
  • Factories and production areas
  • Garages
  • Worn interior concrete before a floor coating is applied

Features

  • Fibre-reinforced cement powder, so the new surface has reinforcement through its full depth rather than relying on the cement alone.
  • Resin added at point of use, which modifies the cement and bonds the compound to the primed slab.
  • Two dedicated primers included in the pack, so the substrate preparation and the resurfacer come as one matched system.
  • Self-smoothing once poured, so a float and spiked roller produce a level surface without hand-finishing the whole floor.
  • One coat at the specified depth, which keeps the job to a single pour per area.
  • Supplied ready to mix with no thinner or added water, so every unit mixes to the same consistency.
  • Tested strengths: compressive 29.8MN/m², flexural 12.8MN/m², tensile bond 3.2MPa.
  • Can be left exposed as the working floor or overcoated with a compatible floor coating.

Good to know

  • Interior use only. Concrete is the specified substrate.
  • Both primers are part of the system. They are not optional and not interchangeable.
  • Mix the full pack. The components are proportioned to each other.
  • Remove oil, grease, loose material and poorly bonded coatings before priming.
  • Cure time depends on temperature, ventilation and applied depth. Cold conditions slow it down.
  • Check compatibility with the coating manufacturer before overcoating.
Application

SURFACE PREPARATION

Make the concrete sound and clean. Remove dust, loose material, oil and grease. Strip loose or poorly bonded paint and coatings. Repair structurally weak or heavily contaminated concrete before you start. Fill isolated holes with FlowFix Patch or FlowFix Deep Patch first.

Apply between 10°C and 30°C. Store unopened packs between 5°C and 30°C.

PRIMING

Lightly dampen bare concrete where required. Brush Primer 1 evenly over the floor with a brush or soft broom. Let it soak into the substrate. Apply Primer 2 after Primer 1 as directed on the pack label. Leave Primer 2 as a thin, even film with no pooling. Do not swap or skip either primer.

MIXING

Mix the full pack. Pour the liquid resin into a clean mixing bucket. Add the powder gradually while mixing. Use a slow-speed drill and mixing blade. Keep mixing until the compound is smooth, uniform and creamy. Do not add water or thinner. Use the mix straight away: pot life is up to 20 minutes at 20°C, and less in warm conditions.

APPLICATION AND CURE

Pour the mix onto the freshly primed floor. Spread it with a steel float or trowel to at least 3mm. Go thicker where the slab needs levelling. Work the 7" spiked roller across the surface immediately to release trapped air and remove trowel marks. Finish rolling while the material is still fluid. Wear spiked shoes on larger areas so you can walk on the wet compound. Allow 6 hours before foot traffic. Allow longer at low temperatures, in poor ventilation or at greater depth.

Le Centre de Connaissances

Tout ce que vous devez savoir

Parcourez notre collection d'articles détaillés et de guides pratiques conçus pour vous aider à tirer le meilleur parti de ce produit. Que vous ayez besoin d'aide pour la préparation des surfaces ou de conseils d'application, nous avons ce qu'il vous faut.
Afficher le Centre technique

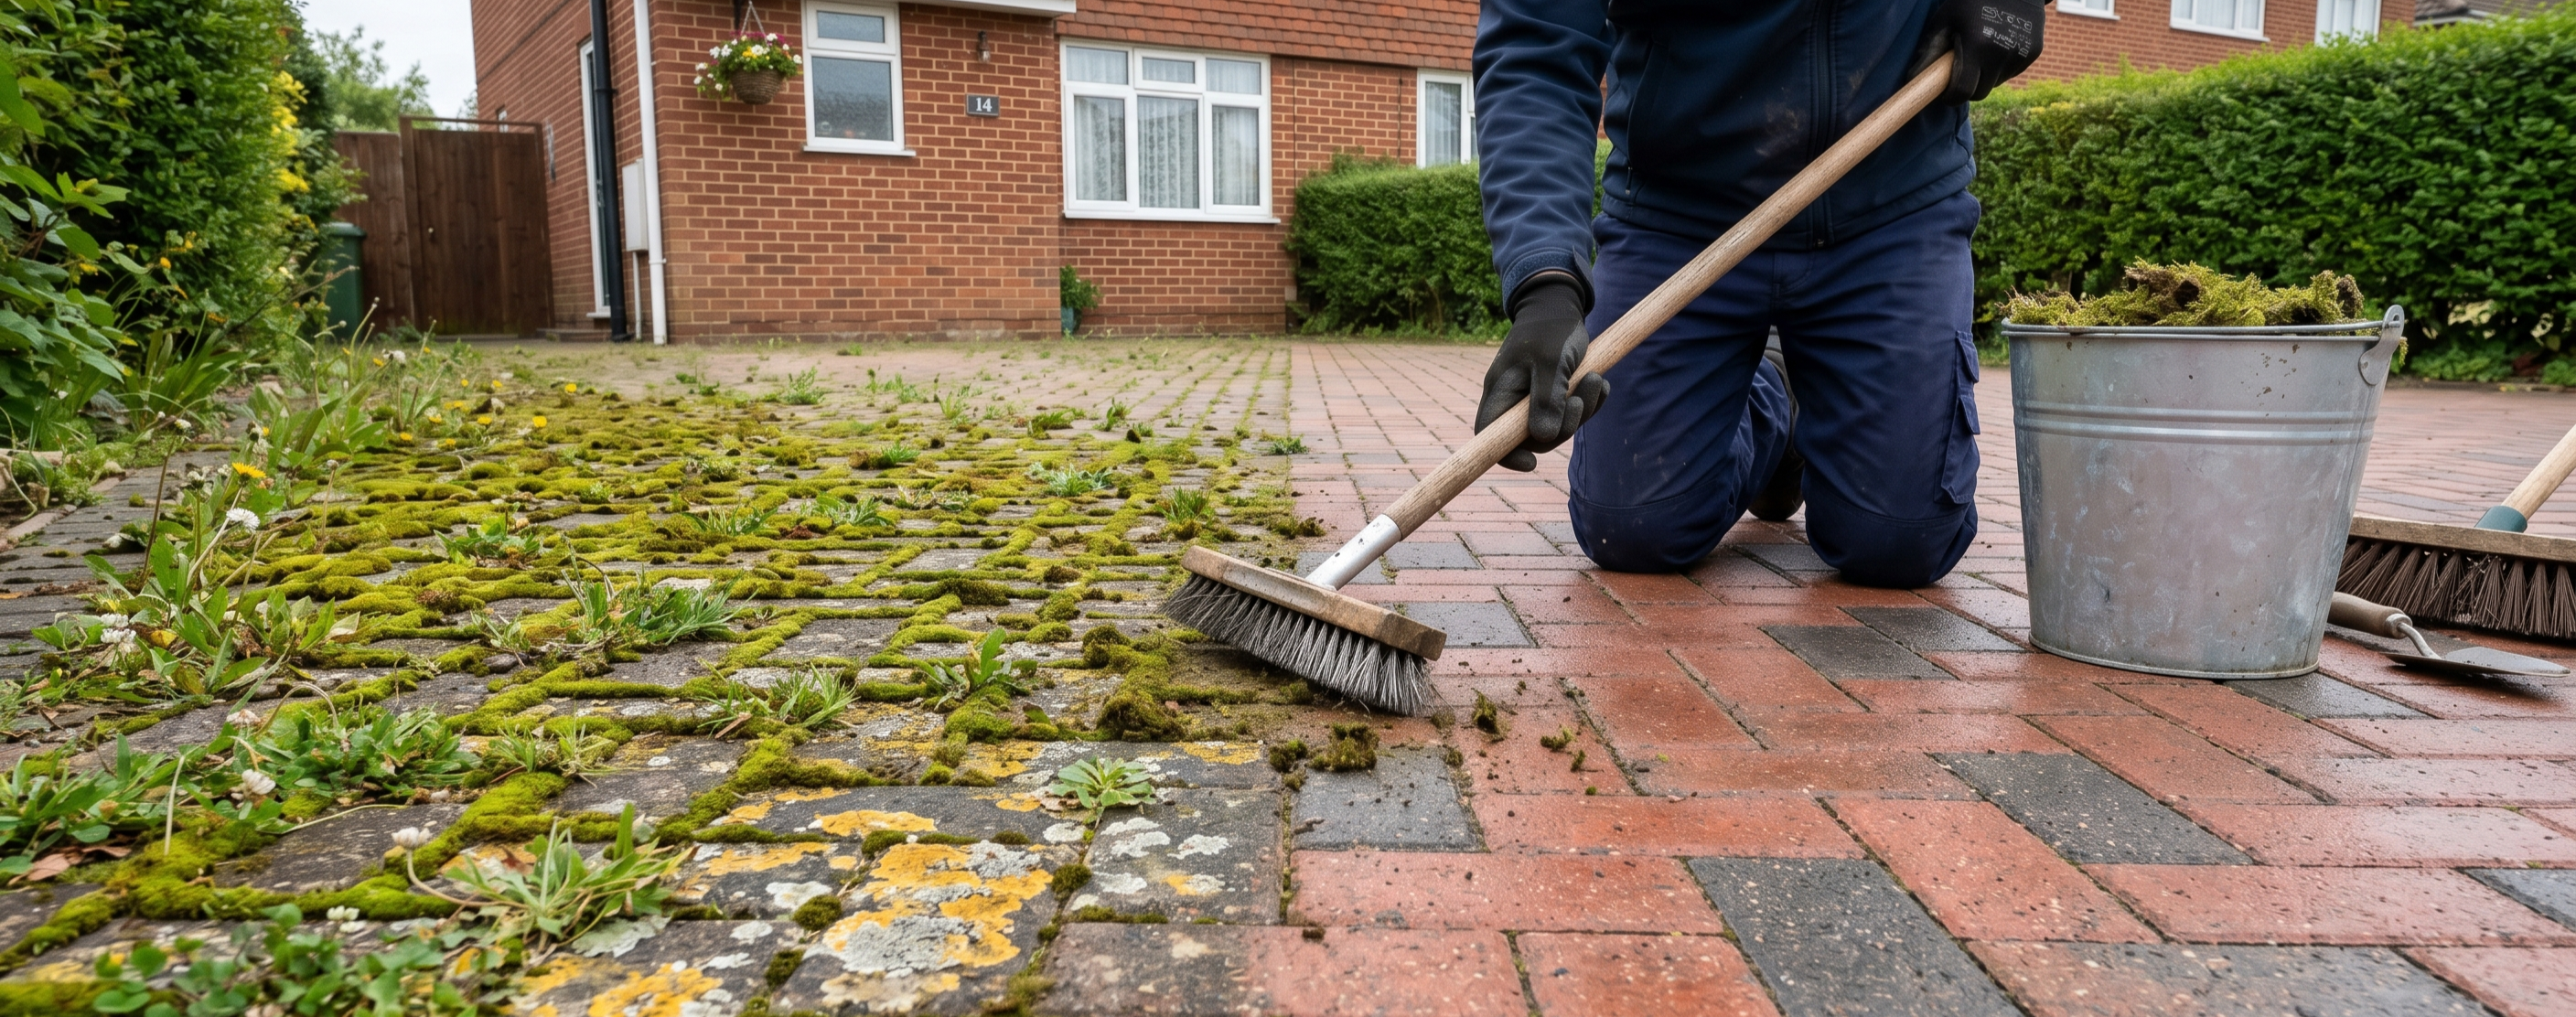
A visual comparison of a mossy, weed-infested block paving driveway next to a freshly cleaned section in the UK.
  • par Sam Marriott

Restauration de pavés autobloquants : Élimination de la mousse, des mauvaises herbes et du lichen

Le pavage est le choix le plus populaire pour les allées au Royaume-Uni, mais il présente un défaut de conception majeur : Les joints. Ces milliers d'espaces entre les briques sont le terreau idéal pour les mauvaises herbes, la mousse...

Plus

An unbranded industrial floor scrubber being used to maintain the high-gloss shine on a polished concrete warehouse floor.
  • par Sam Marriott

Nettoyer en profondeur le béton poli sans ternir sa brillance
Le béton poli est souvent vendu comme l'option de revêtement de sol "sans entretien". C'est un mensonge. Oui, il est incroyablement durable. Il ne s'écaillera pas comme de la peinture. Mais si vous l'ignorez, ou pire – si vous le...

Plus

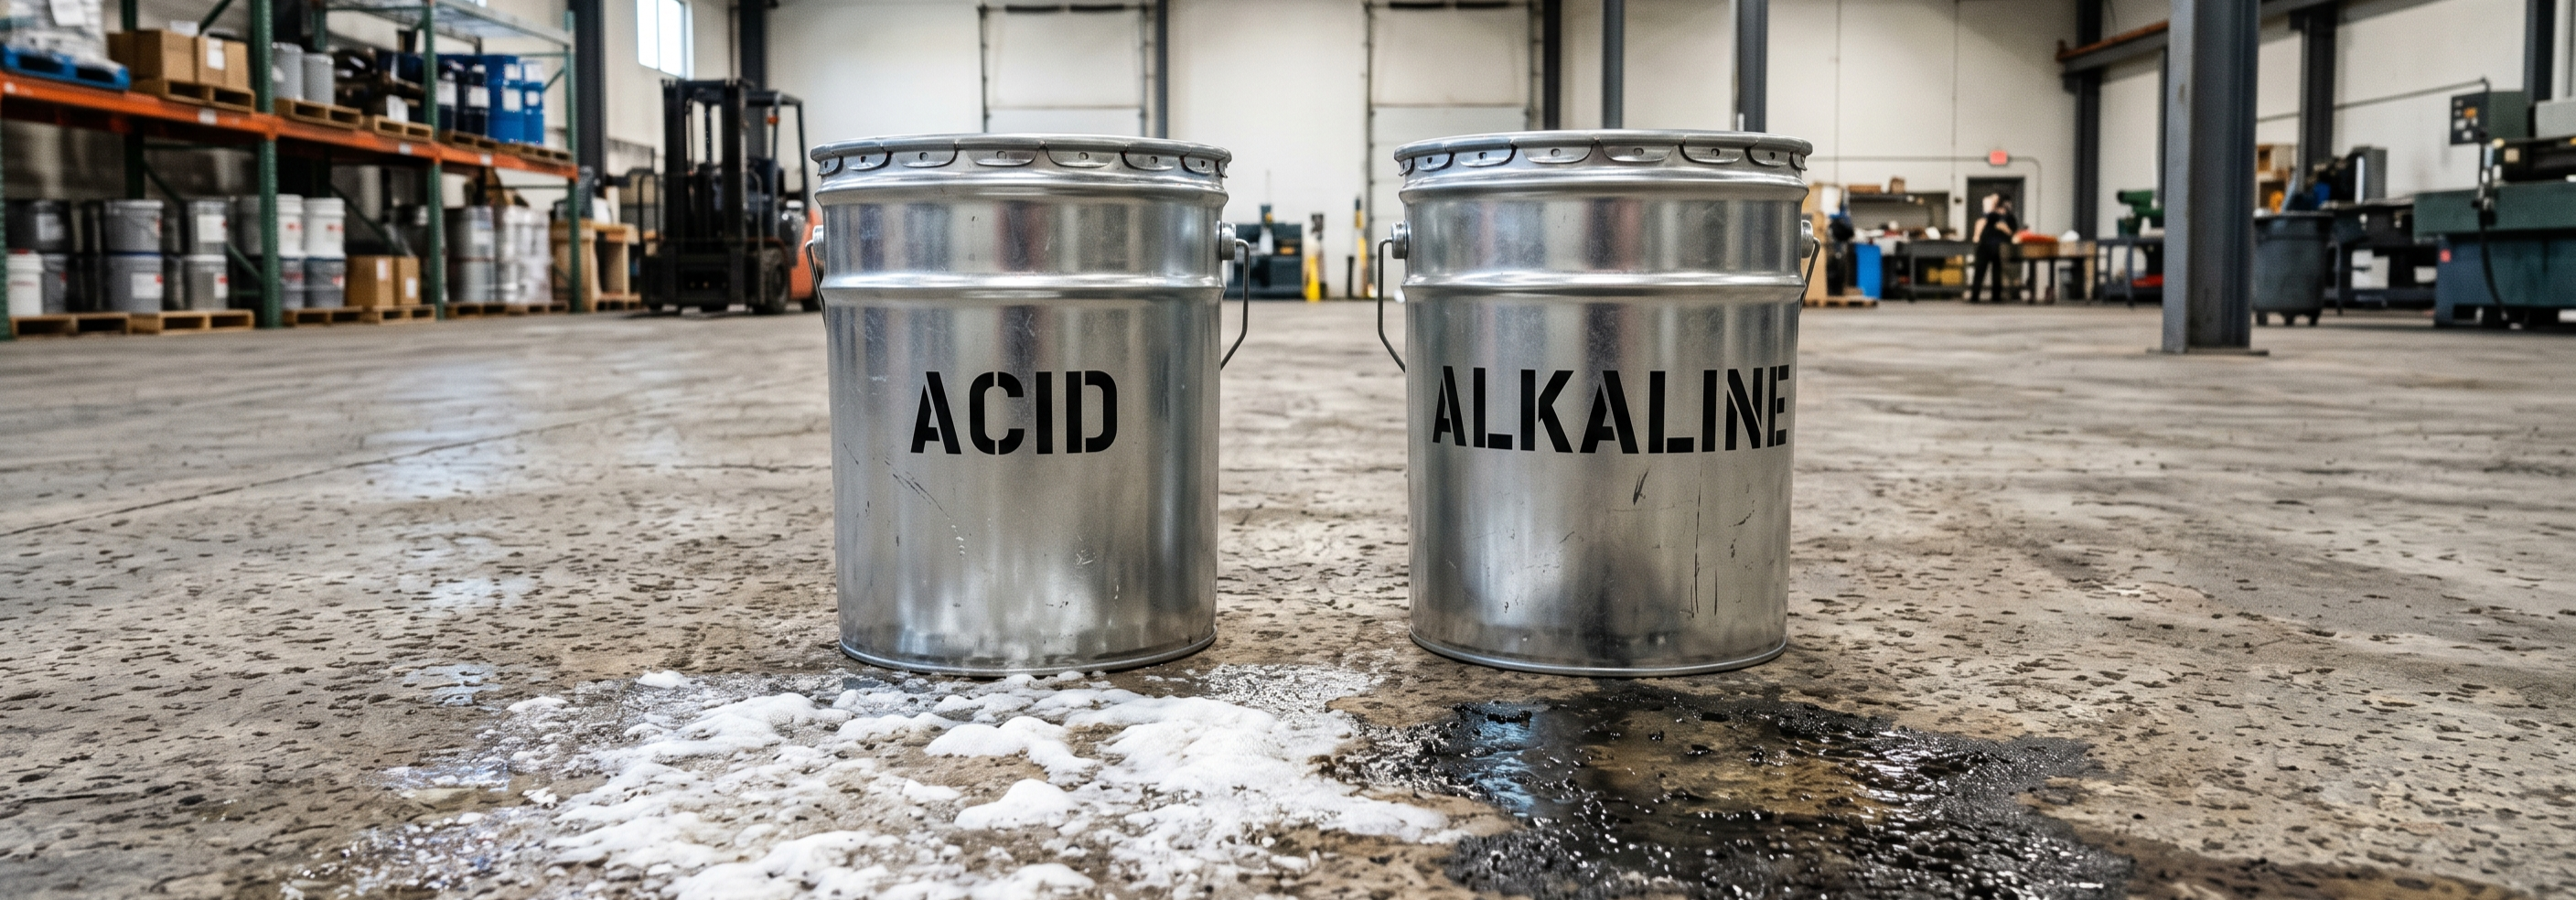
Two unbranded silver tins labeled Acid and Alkaline on an industrial concrete warehouse floor.
  • par Sam Marriott

Nettoyants pour béton acides ou alcalins : Lequel est le meilleur pour votre sol ?

Si vous entrez dans une quincaillerie et demandez un "nettoyant à béton", vous vous retrouverez probablement avec plusieurs options devant vous. La plupart des gens choisissent la bouteille avec l'étiquette d'avertissement la plus agressive, pensant que "plus c'est fort, mieux...

Plus

How to Sand a Painted Concrete Floor for Recoating
  • par Sam Marriott

Comment poncer un sol en béton peint avant de le repeindre

Dans notre guide Ponçage vs. Meulage : Préparation du béton précédemment peint, nous avons établi que si votre sol réussit le test d'adhérence par quadrillage, l'étape suivante pour un nouveau revêtement sera le ponçage. Choisir de poncer plutôt que de meuler vous fait économiser des centaines de livres...

Plus

FAQ

Veuillez consulter notre page FAQ pour en savoir plus.

Why resurface the floor instead of painting it?
A floor paint forms a thin film that follows the surface underneath. On worn concrete with exposed aggregate and pits, it reproduces the same rough profile and wears quickly on the high points. FlowFix Resurface lays a new cementitious wearing surface over the slab, so the floor is level and smooth again. You can then leave it exposed or apply a compatible coating to a sound, even base.
Do I have to use both primers?
Yes. Both primers are part of the system and are supplied in the pack. Primer 1 penetrates and prepares the concrete. Primer 2 gives the final primed surface that you pour onto. They do different jobs, so do not swap them or skip either one. Pour the mixed resurfacer onto the freshly primed floor.
How far does a 25kg pack go?
One 25kg pack covers approximately 3.7m² at 3mm, 2.3m² at 5mm and 1.1m² at 10mm. Do not lay it thinner than 3mm. It is a resurfacer, not a feather-edge filler. Actual coverage depends on the floor profile, the depth you lay, wastage and site conditions, so measure the floor and allow extra for low spots.
When can I walk on it?
Allow 6 hours before foot traffic under normal conditions. Treat this as a guide rather than a guarantee. Low temperatures, poor ventilation and greater applied depth all slow the cure. Apply only between 10°C and 30°C.
Can I use it outside, and can I coat over it?
FlowFix Resurface is for interior use only. Concrete is the specified substrate. Indoors, you can leave the cured surface as the working floor or overcoat it with a compatible floor coating for colour or a decorative finish. Confirm compatibility with the coating manufacturer before you overcoat, and let the resurfacer cure first.

Vous n'avez pas trouvé votre réponse ?

N'hésitez pas à nous contacter